 Cáo Experiences
Home › Blog › Vietnamese cooking classes
How to Make Pho at Home After a Cooking Class
By the Cáo Experiences team · 2026-11-01
After a hands-on Vietnamese cooking class with Cáo Experiences, making pho at home means building stock the right way—simmering bones, charred onion and ginger for 12–24 hours—then layering fresh herbs, noodles, and protein in a bowl seconds before serving. Most home cooks skip the long simmer (using shortcuts that flatten flavour) or overcrowd the bowl (watering down broth). We teach you which bones to buy, how to char spices without burning them, when to stop adjusting seasoning, and how to store broth safely. The class itself covers everything you'll cook; the skill is repetition and small tweaks based on your stove and water. Budget time: 2–3 hours active work over 1–2 days. It's not hard; it just needs patience and honest tasting.
Why Does the Broth Taste Flat at Home?
You're simmering bones for hours, so why does the broth taste watery compared to the class? The answer is almost always that stock hasn't simmered long enough, or the aromatics weren't charred properly before the simmer. In class, we show you how to use high heat to char the onion and ginger halves until they're blackened—this caramelizes the sugars and builds depth. Many home cooks skip this step or do it too gently. We also teach which bones work: a mix of marrow bones and knuckle bones, not just what's cheapest. If you use only bones without meat, the broth can taste thin. After class, follow the exact ratio we showed you—and taste the broth the moment it's done. If it's weak, you didn't simmer long enough; next time, add 2–4 more hours.

What's the Honest Timeline for Making Pho at Home?
Real pho takes 18–24 hours if you're simmering overnight. Some home cooks make it in 6 hours and call it done—but the difference is audible: the broth won't taste rich. In our class, we show you how to start in the morning, char aromatics by lunch, then let it bubble gently overnight. By morning, the broth will have a slight sheen from dissolved bone marrow. If you don't have overnight, the minimum is 12 hours of continuous simmer on low heat (not a rolling boil, which clouds broth). The actual assembly—cooking noodles, arranging herbs, slicing meat—takes 20 minutes once broth is ready. Most home cooks rush this part. We teach you to have everything prepped in small bowls before you heat the broth bowl. One critical detail: Vietnamese cooks taste constantly and adjust salt just before serving, never during the simmer.
How Do You Store and Reheat Pho Broth Safely?
Broth can be refrigerated for up to 4 days in an airtight container, or frozen for 3 months. When you freeze it, use flat freezer bags so it thaws evenly—we show this in class because it saves counter space. When reheating, thaw it overnight in the fridge, then bring it to a simmer over medium heat. Never microwave pho broth; it heats unevenly and can burn the bottom of the pot. If broth has solidified fat on top after refrigeration, leave it on during reheating—it protects the broth from oxidizing. One honest note: broth that's been frozen tastes slightly less bright than fresh. Most families don't notice if they add fresh lime and herbs, which is why in the class we emphasize that the fresh garnish—Thai basil, cilantro, sawtooth coriander, lime—is doing half the work.
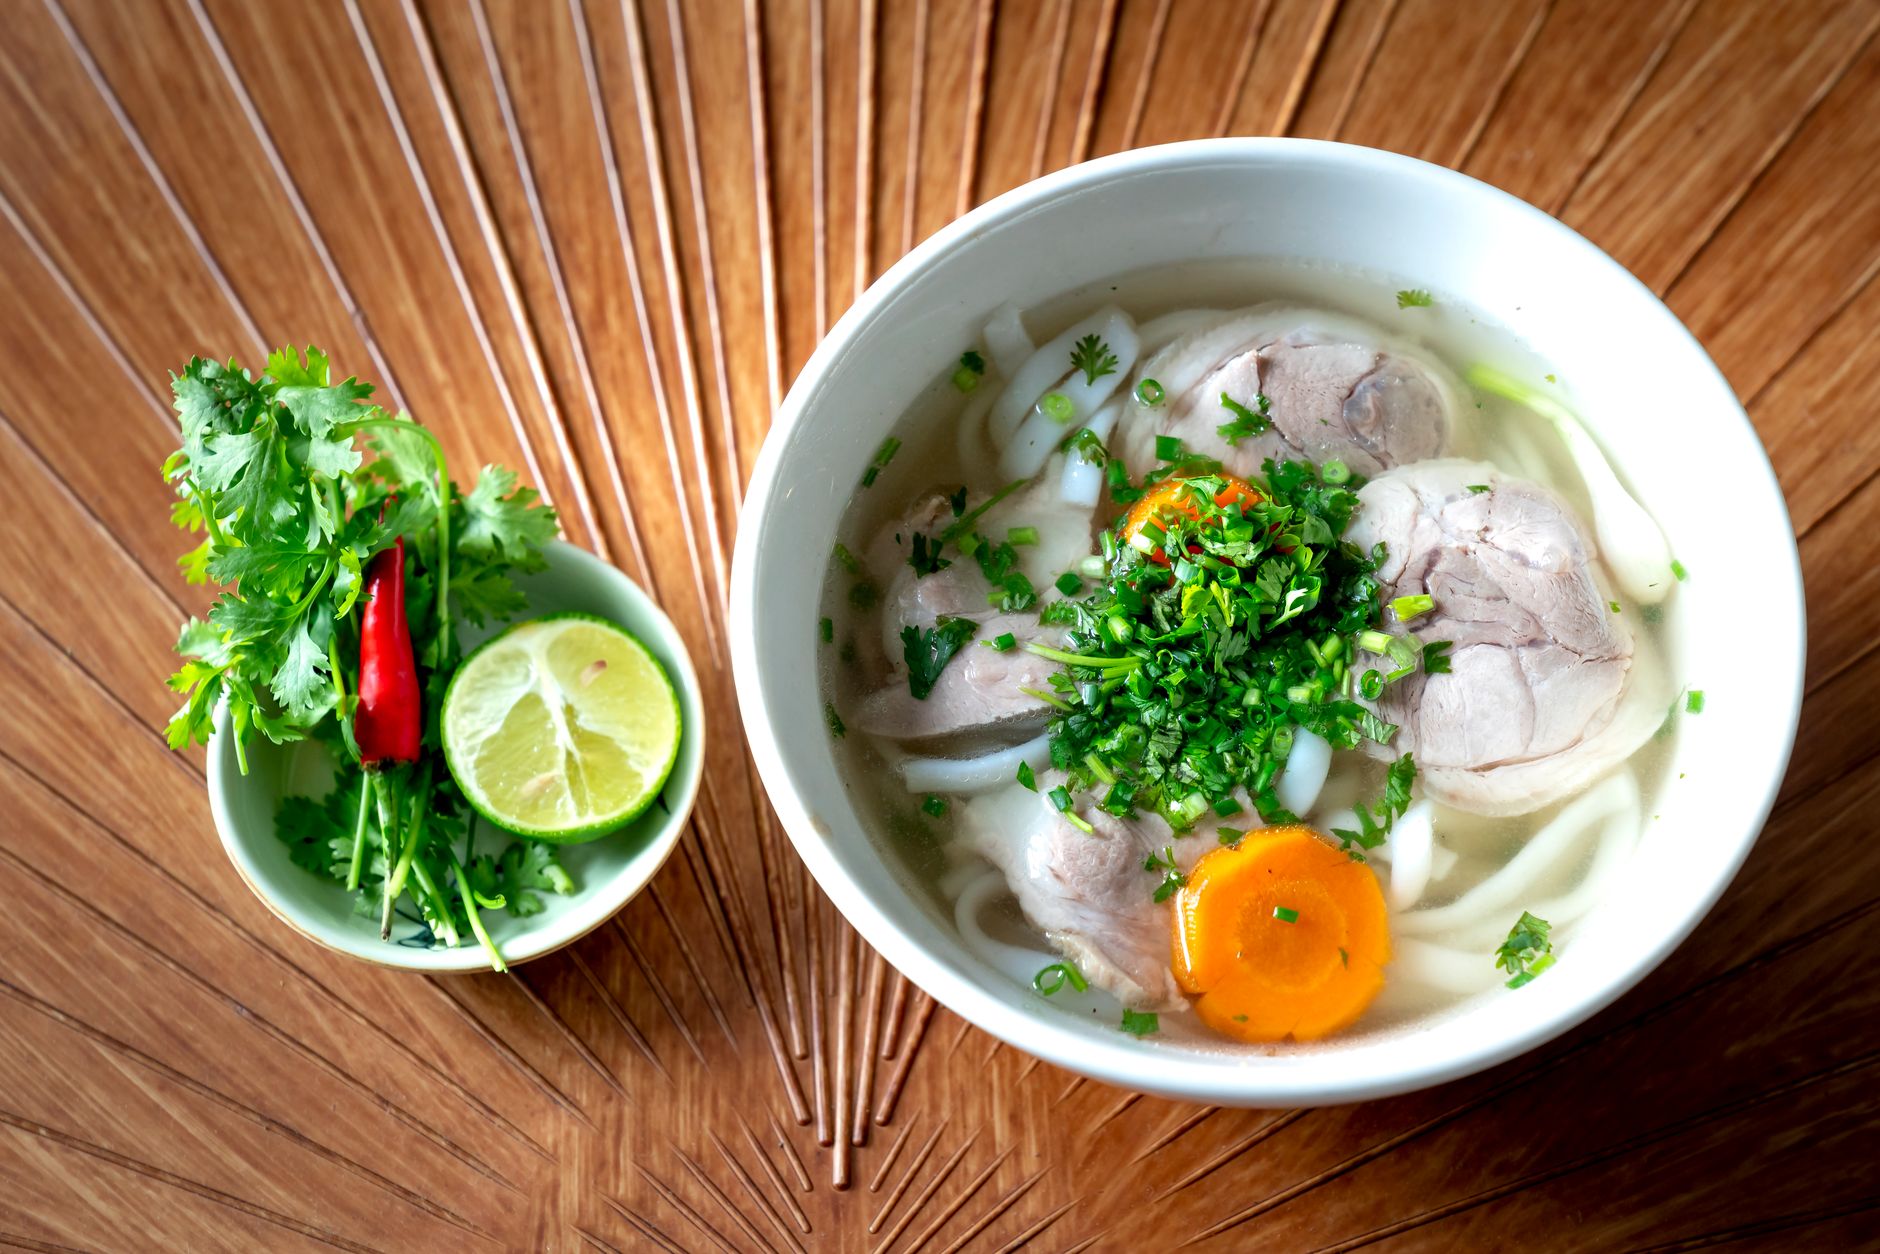
What Ingredients Should You Buy Before Cooking?
| Item | Where to find it | What to check | Why it matters |
|---|---|---|---|
| Marrow and knuckle bones | Butcher counter | Request beef, ask for a mix (not just marrow) | Pure marrow bones won't build body; knuckle bones add collagen |
| Onion and ginger | Fresh produce aisle | Ginger should be firm, skin thin (young); onion unpeeled | Old ginger tastes sharp; thin skin chars better |
| Star anise, cinnamon, cloves | Spice aisle or Asian section | Buy in small amounts (check date; whole spices only) | Pre-ground spices lose aroma; old whole spices taste dusty |
| Rice noodles (bánh phở) | Asian section or market | Look for "phở" on the label; 1mm width | Wrong noodle width changes the eating experience |
| Fish sauce | Asian section | Label should say "fish sauce" not "seafood seasoning" | Cheap versions have chemical taste; buy a recognisable brand |
| Fresh herbs | Produce or Asian market | Look for vibrant Thai basil, cilantro, sawtooth coriander | Wilted herbs won't taste alive; buy 1 day before cooking |
We cover this exact list in the Vietnamese cooking class. The biggest mistake is buying pre-ground spices or old star anise. Toast your spices dry in the pan for 30 seconds before charring the aromatics—you'll smell the difference immediately.
What Goes Wrong in the First Batch (and How to Fix It)?
Even after class, your first batch at home might taste slightly off. This is normal. Here are the four most common issues and what they mean:
Broth tastes salty but you didn't add salt. You're using fish sauce in the broth. Cut back by half next time—you add more fish sauce in individual bowls at the table. Fish sauce is salty and pungent; a little goes far.
Broth is cloudy, not clear. You boiled the bones hard instead of simmering them gently. Boiling agitates the marrow particles and makes them suspend in the liquid. Next time, bring to a simmer, then reduce heat so the surface barely bubbles. This takes discipline.
Noodles are mushy, broth is diluted. You cooked the noodles in the broth instead of in a separate pot of water. Rice noodles release starch into the liquid. Always cook them separately, rinse them, then add to bowls just before serving.
Broth tastes one-dimensional, missing that umami depth. You skipped charring the aromatics or used only white onion (not the papery skin). The char is where complexity lives. Also taste for enough bones in the ratio—all aromatics and no bone = thin broth.
The honest truth: your second or third batch will taste better than your first. That's the whole point of the cooking class—you see the technique live, and then you refine it at home by feeling the heat, smelling the stage, and tasting as you go. Nobody gets perfect pho on the first try.
What Else Should You Learn After the Class?
A Vietnamese cooking class teaches pho technique, but other experiences deepen your understanding of Vietnamese food culture. If you want to see where ingredients come from, a farm and countryside experience shows you fresh herbs, vegetables, and how they're grown. If you're curious about the street-food tradition pho comes from, a street food and market tour takes you to sellers who've been making pho the same way for decades—you'll taste variations and hear the history. If you want to branch into other Vietnamese drinks, a Vietnamese coffee workshop teaches you the ritual and technique behind egg coffee and traditional iced coffee, which often pair with a pho breakfast.
For families with kids, there are also family-friendly experiences that teach cooking alongside cultural storytelling. And if you're in a group wanting to refine skills together, we run group and team experiences where each person makes their own bowl and you compare results.
What to Check Before You Cook at Home
- Bones are fresh, not frozen longer than 3 months — Old frozen bones lose marrow flavour.
- Your stove can hold a very low simmer for 12+ hours — If you have an old electric stove that cycles on and off, use a heavy-bottomed pot and check halfway through.
- You have a thermometer or can taste constantly — "When is it done?" is answered by tasting, not time. We teach you what to taste for.
- Herbs are bought the day before cooking — Wilted herbs won't rescue an otherwise good broth.
- You have space in the fridge or freezer for broth — A full pot of broth takes up a lot of room. Plan ahead.
- Fish sauce is stored in a sealed container — Its smell is strong and lingers. Your fridge will smell like pho for days (most people see this as a feature, not a bug).
FAQ
How long does pho broth actually take to make from scratch?
12–24 hours of continuous simmering, depending on heat level and bone type. Active prep (charring, chopping) takes 30 minutes. Most Vietnamese home cooks start in the morning and simmer overnight so broth is ready for breakfast or lunch the next day. Rush it and you'll taste the difference.
Can I use a pressure cooker or instant pot to speed up the broth?
Yes, it reduces time to 3–4 hours, but the broth tastes less complex because high pressure doesn't allow the slow caramelization of bone minerals. We teach traditional method in class, but honestly, a faster broth beats no homemade broth. If you use a pressure cooker, char aromatics first, then simmer under pressure.
What's the difference between "phở bò" and "phở gà" and does it change how I make the broth?
Phở bò (beef) uses beef bones and is simmered longer (18–24 hours) for deeper flavour. Phở gà (chicken) uses chicken bones and only needs 6–8 hours because chicken bones break down faster. The technique is identical; the time changes based on bones. We teach both in class and you can choose which to make at home.
If I make a batch and it's not perfect, can I save it and improve it next time?
Yes. Broth can be refrigerated for 4 days or frozen for 3 months. Don't throw it out if it tastes weak—next time, simmer it again for 4 more hours, or use it as a base and add fresh broth on top. Blending two broths together works too.
What's the most important thing I learned in the class that I'll actually use at home?
The smell and sight of properly charred aromatics. Once you've seen and smelled the blackened onion and ginger, you can't un-see it. That moment teaches you more than any recipe. It's the difference between "I followed a recipe" and "I know what I'm doing."
Should I buy special equipment, or is a regular pot okay?
A regular heavy-bottomed pot works perfectly. The only useful upgrade is a thermometer to check water temperature (optional), or flat freezer bags for storing broth (helpful, not essential). We don't sell equipment; we teach you to cook with what you have.
Ask about dates
Tell us the city, your dates and what you would like to try. We reply on WhatsApp in English with options and availability.
FAQ
How long does pho broth actually take to make from scratch?
12–24 hours of continuous simmering, depending on heat level and bone type. Active prep (charring, chopping) takes 30 minutes. Most Vietnamese home cooks start in the morning and simmer overnight so broth is ready for breakfast or lunch the next day. Rush it and you'll taste the difference.
Can I use a pressure cooker or instant pot to speed up the broth?
Yes, it reduces time to 3–4 hours, but the broth tastes less complex because high pressure doesn't allow the slow caramelization of bone minerals. We teach traditional method in class, but honestly, a faster broth beats no homemade broth. If you use a pressure cooker, char aromatics first, then simmer under pressure.
What's the difference between "phở bò" and "phở gà" and does it change how I make the broth?
Phở bò (beef) uses beef bones and is simmered longer (18–24 hours) for deeper flavour. Phở gà (chicken) uses chicken bones and only needs 6–8 hours because chicken bones break down faster. The technique is identical; the time changes based on bones. We teach both in class and you can choose which to make at home.
If I make a batch and it's not perfect, can I save it and improve it next time?
Yes. Broth can be refrigerated for 4 days or frozen for 3 months. Don't throw it out if it tastes weak—next time, simmer it again for 4 more hours, or use it as a base and add fresh broth on top. Blending two broths together works too.
What's the most important thing I learned in the class that I'll actually use at home?
The smell and sight of properly charred aromatics. Once you've seen and smelled the blackened onion and ginger, you can't un-see it. That moment teaches you more than any recipe. It's the difference between "I followed a recipe" and "I know what I'm doing."
Should I buy special equipment, or is a regular pot okay?
A regular heavy-bottomed pot works perfectly. The only useful upgrade is a thermometer to check water temperature (optional), or flat freezer bags for storing broth (helpful, not essential). We don't sell equipment; we teach you to cook with what you have.
More like this
Vietnamese cooking classes
Evening cooking class in Saigon: what to expect and how to choose
Evening cooking classes in Saigon let you learn authentic Vietnamese techniques in a relaxed, small-group setting after hours. We run hands-on sessions where you cook real dishes, taste them, and take notes home.
Vietnamese cooking classes
Evening cooking class in Ho Chi Minh City: what to expect
An evening cooking class in Ho Chi Minh City lets you prepare and eat authentic Vietnamese dishes in a family kitchen, usually starting around 5 p.m. and running 2.5–3 hours. We work at beginner pace with translation, adapt to allergies and energy levels, and you take home the skills to cook at home
Vietnamese cooking classes
Evening cooking class in Da Nang: what to expect
An evening cooking class in Da Nang puts you in a family kitchen to learn three dishes from scratch, starting with a twilight market walk and ending with a shared meal.